filebeat自定义tomcat日志格式并写入ES
1.修改配置文件
vim /baimei/softwares/apache-tomcat-9.0.75/conf/server.xml
...(切换到行尾修改,大概是在161-177之间)
<Host name="tomcat.baimei.com" appBase="webapps"
unpackWARs="true" autoDeploy="true">
<Valve className="org.apache.catalina.valves.AccessLogValve" directory="logs"
prefix="tomcat.baimei.com_access_log" suffix=".txt"
pattern="{"clientip":"%h","ClientUser":"%l","authenticated":"%u","AccessTime":"%t","request":"%r","status":"%s","SendBytes":"%b","Query?string":"%q","partner":"%{Referer}i","http_user_agent":"%{User-Agent}i"}"/>
</Host>
2.重启tomcat
/baimei/softwares/apache-tomcat-9.0.75/bin/shutdown.sh
/baimei/softwares/apache-tomcat-9.0.75/bin/startup.sh
3hosts 解析:
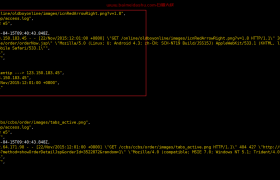
10.0.0.103 tomcat.baimei.com4.访问tomcat实例
http://tomcat.baimei.com:8080/
5.编写配置并启动filebeat实例
cat config/11-tomcat-to-es.yaml
filebeat.inputs:
- type: log
  paths: ["/baimei/softwares/apache-tomcat-9.0.75/logs/tomcat.baimei.com*.txt"]
  processors:
  - decode_json_fields:
      fields: ["message"]
      target: ""

#output.console:
#  pretty: true

output.elasticsearch:
  hosts:
  - "http://10.0.0.101:19200"
  - "http://10.0.0.102:19200"
  - "http://10.0.0.103:19200"
  index: "baimei-filebeat-custom-tomcat-access-%{+yyyy.MM.dd}"

setup.ilm.enabled: false
setup.template.name: "baimei-filebeat-custom-tomcat"
setup.template.pattern: "baimei-filebeat-custom-tomcat*"
setup.template.overwrite: true
setup.template.settings:
  index.number_of_shards: 3
  index.number_of_replicas: 0
欢迎来撩 : 汇总all