
k8s 集群安装 openELB
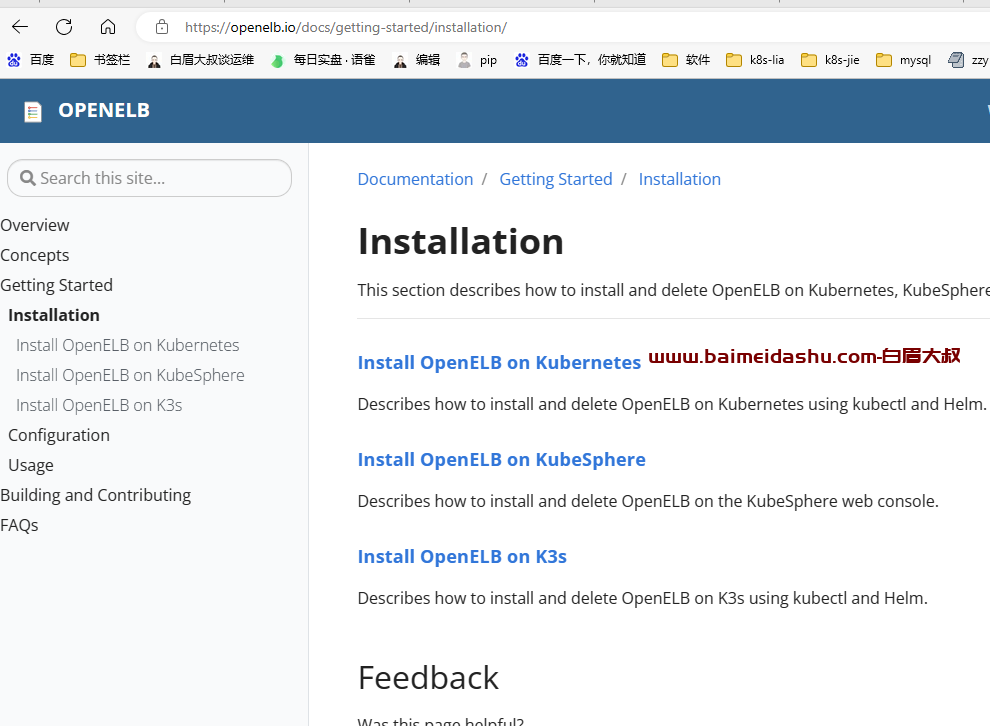
官网: https://openelb.io/ 需要呼吸
2.1 需求
-
You need to prepare a Kubernetes cluster, and ensure that the Kubernetes version is 1.15 or later. OpenELB requires CustomResourceDefinition (CRD) v1, which is only supported by Kubernetes 1.15 or later. You can use the following methods to deploy a Kubernetes cluster:
-
Use (recommended). You can use KubeKey to deploy a Kubernetes cluster with or without KubeSphere.
-
Follow .
OpenELB is designed to be used in bare-metal Kubernetes environments. However, you can also use a cloud-based Kubernetes cluster for learning and testing.
https://openelb.io/docs/getting-started/installation/install-openelb-on-kubernetes/
1.Log in to the Kubernetes cluster over SSH and run the following command:
kubectl apply -f https://raw.githubusercontent.com/openelb/openelb/master/deploy/openelb.yaml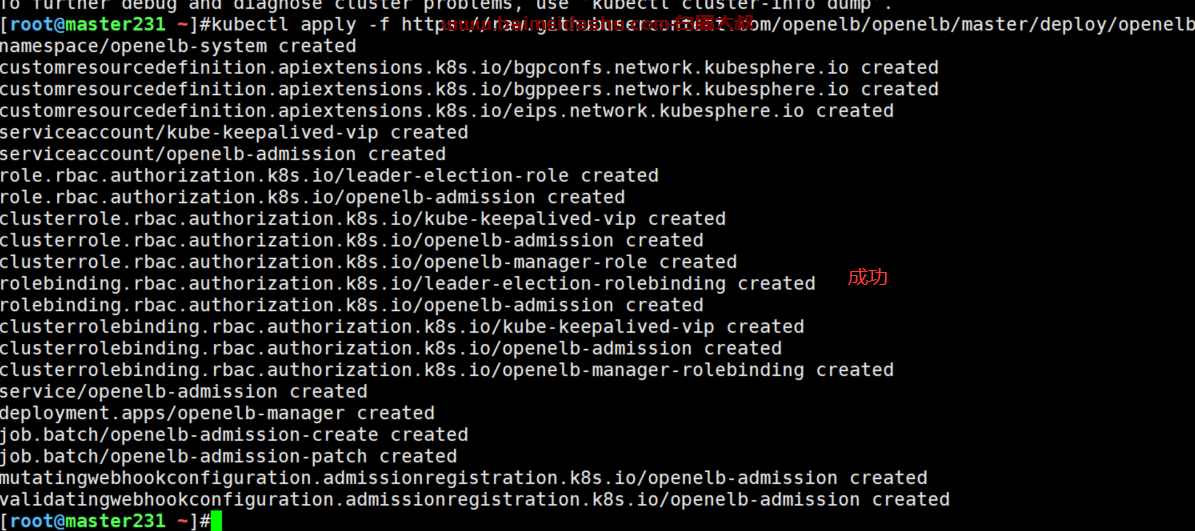
检查一下:
kubectl get pods -n openelb-system这里边涉及到 科学上网,可以参考: https://zhuanlan.zhihu.com/p/612079422
[root@master1 OpenELB]#wget https://raw.githubusercontent.com/openelb/openelb/master/deploy/openelb.yaml
[root@master1 OpenELB]#vim openelb.yaml
将
1267         image: k8s.gcr.io/ingress-nginx/kube-webhook-certgen:v1.1.1
替换为
1267         image: kubespheredev/kube-webhook-certgen:v1.1.1

1300         image: k8s.gcr.io/ingress-nginx/kube-webhook-certgen:v1.1.1
替换为
1300         image: kubespheredev/kube-webhook-certgen:v1.1.1

#注意:这里要替换2处k8s.gcr.io镜像,是2个admission,webhook。
2.Run the following command
to check whether the status of openelb-manager is READY: 1/1 and STATUS: Running. If yes, OpenELB has been installed successfully.
kubectl get pods -n openelb-system

配置
2.2.2 配置步骤
kubectl edit configmap kube-proxy -n kube-system找到 mode , 改为 ipvs
然后找到ipvs: 修改 strictARP :true
ipvs:
  strictARP: true
然后 让修改生效
kubectl rollout restart daemonset kube-proxy -n kube-system
kubectl get pods -n kube-system
我们也可以看看 路由转发的规则:
ipvsadm -l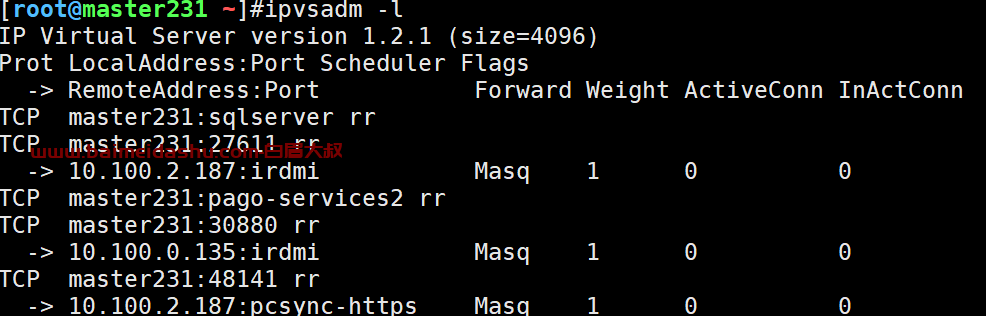
第2步: 提供一个网卡,给我们的2层来使用
如果你有多个网卡,需要配置一下,我这里有2个,eth0, eth1
kubectl annotate nodes master231 layer2.openelb.kubesphere.io/v1alpha1="10.0.0.231"

Step 3: Create an Eip Object
The Eip object functions as an IP address pool for OpenELB.
1.Run the following command to create a YAML file for the Eip object:
vim layer2-eip.yaml
2.Add the following information to the YAML file:
apiVersion: network.kubesphere.io/v1alpha2
kind: Eip
metadata:
  name: layer2-eip
spec:
  address: 10.0.0.70-10.0.0.99
  interface: eth0
  protocol: layer2
kubectl apply -f layer2-eip.yaml
以上就是 安装配置步骤, 接下来 使用
openELB使用
如果使用 openELB 给我们的sevice 分配ip, 那么我们需要有应用。
# vim layer2-openelb.yaml
下边的就是部署一个web 站点, 换成 nginx 也是一样的
apiVersion: apps/v1
kind: Deployment
metadata:
  name: layer2-openelb
spec:
  replicas: 2
  selector:
    matchLabels:
      app: layer2-openelb
  template:
    metadata:
      labels:
        app: layer2-openelb
    spec:
      containers:
        - image: luksa/kubia
          name: kubia
          ports:
            - containerPort: 8080
部署:
kubectl apply -f d1.yaml然后可以
kubectl get pods
那么我们怎么进行访问呢?
我们需要创建service
3.1.2 Create a Service
# vim d1-svc.yaml
type 我们 指定为 loadbalancer , 而不是 clusterip ,nodeport
一定要注意注解, 不然 我们可能获取不到
kind: Service
apiVersion: v1
metadata:
  name: layer2-svc
  annotations:
    lb.kubesphere.io/v1alpha1: openelb
    protocol.openelb.kubesphere.io/v1alpha1: layer2
    eip.openelb.kubesphere.io/v1alpha2: layer2-eip
spec:
  selector:
    app: layer2-openelb
  type: LoadBalancer
  ports:
    - name: http
      port: 80
      targetPort: 8080
  externalTrafficPolicy: Cluster
然后
kubectl apply -f d1-svc.yaml
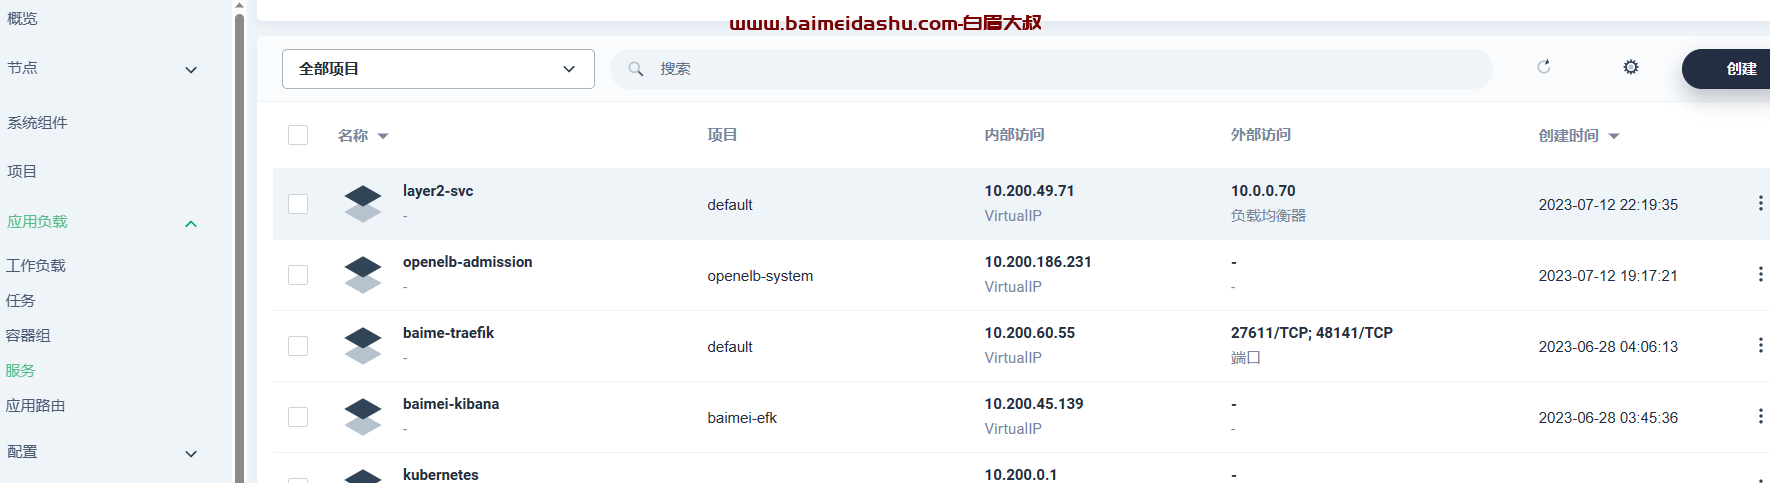
kubectl get svc


我们也可以 配置域名来访问, 我们可以在DNS 中进行 域名与IP 绑定。
后期,我们在部署服务的时候, 需要用域名进行访问。
怎么改呢?
在DNS 服务器上,修改 正向查询的文件。
vim /var/named/baimei.com.zone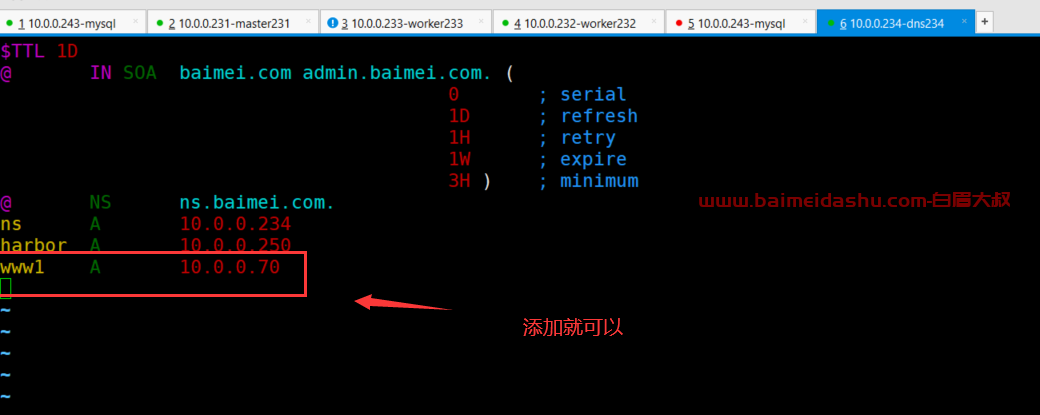
重启 dns 服务
systemctl restart named
之后我们访问 10.0.0.70 的服务就可以这样访问
curl www1.baimei.com
欢迎来撩 : 汇总all