https://cloud.tencent.com/document/practice/845/55272
1- 获取 webhook 地址
企业微信机器人的wehbook地址 : 连接
2- 配置nginx
cat webhook.conf
server {
         listen       80;
         server_name  localhost;
         index index.html index.htm index.php;
         root /usr/local/nginx/html;
         #charset koi8-r;

         #access_log  logs/host.access.log  main;
         location ~ .*\.(php|php5)?$
         {
             fastcgi_pass 127.0.0.1:9000;
             fastcgi_index index.php;
             include fastcgi.conf;
         }
         location ~ .*\.(gif|jpg|jpeg|png|bmp|swf|ico)$
         {
             expires 30d;
         # access_log off;
         }
         location / {
             #proxy_pass <企业微信机器人的wehbook地址>;
             proxy_pass https://qyapi.weixin.qq.com/cgi-bin/webhook/send?key=8b47af31-e289-47e5-88eb-8923e01738fd;
         }
         location ~ .*\.(js|css)?$
         {
             expires 15d;
             # access_log off;
         }
         access_log off;

         #error_page  404              /404.html;

         # redirect server error pages to the static page /50x.html

         error_page   500 502 503 504  /50x.html;
         location = /50x.html {
                 root   html;
         }
}
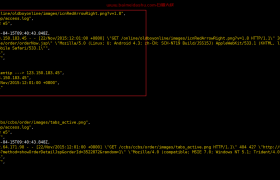
配置好后,我们 nginx -s reload 测试一下:
curl '10.0.0.207' -H 'Content-Type: application/json' -d '{"msgtype": "text","text": {"content": "hello world"}}' 这个正常的话, 我们企业机器群里会收到消息的。
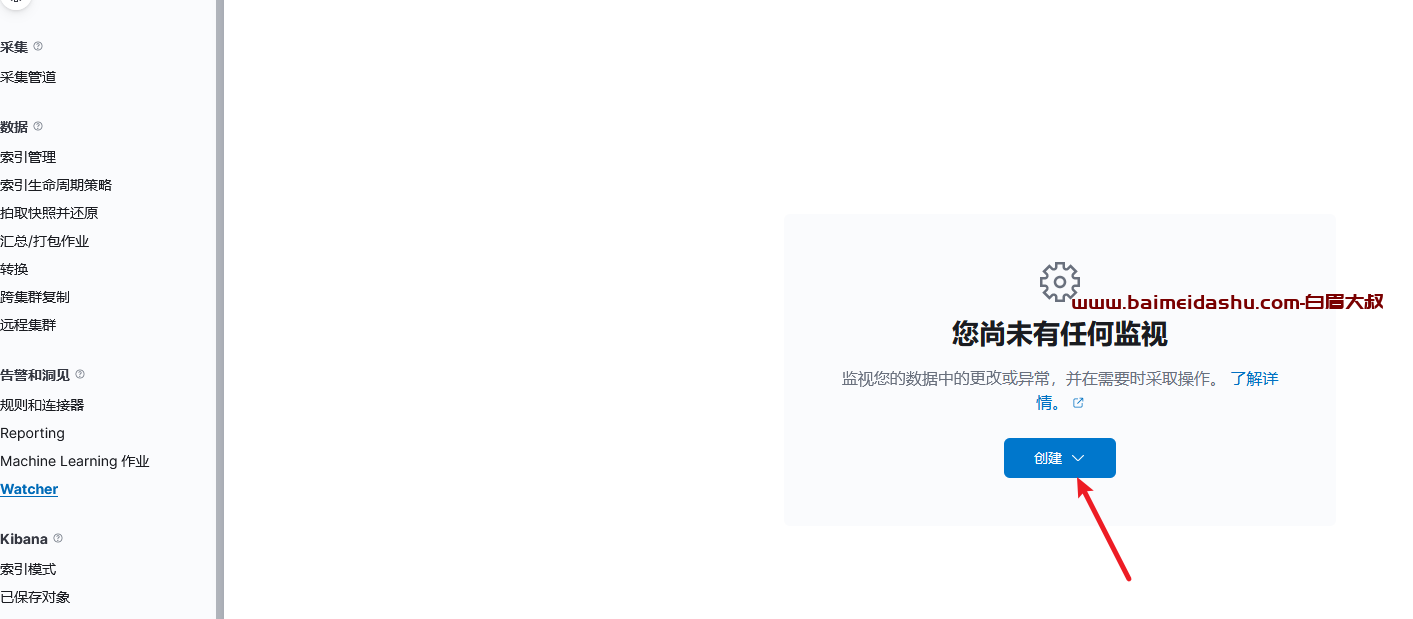
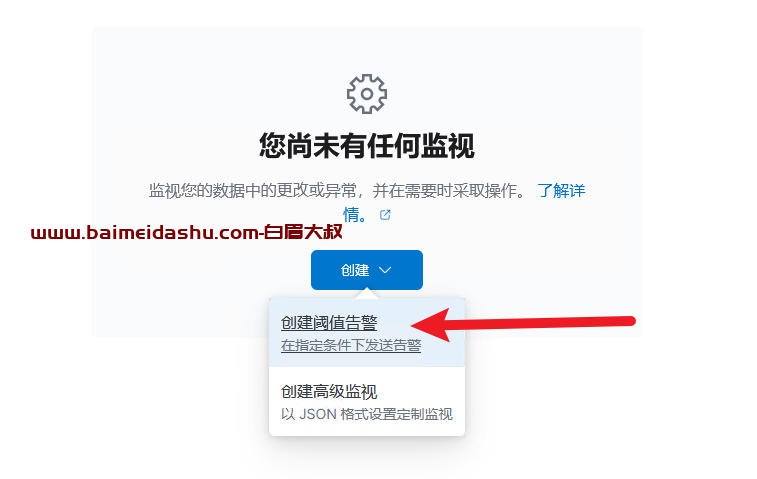
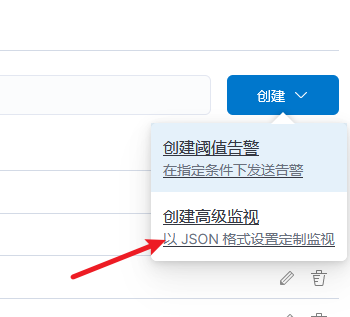
3- 添加 watcher
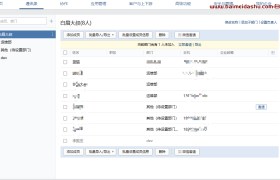
kibana开启watcher : 连接
然后选择 “添加操作”
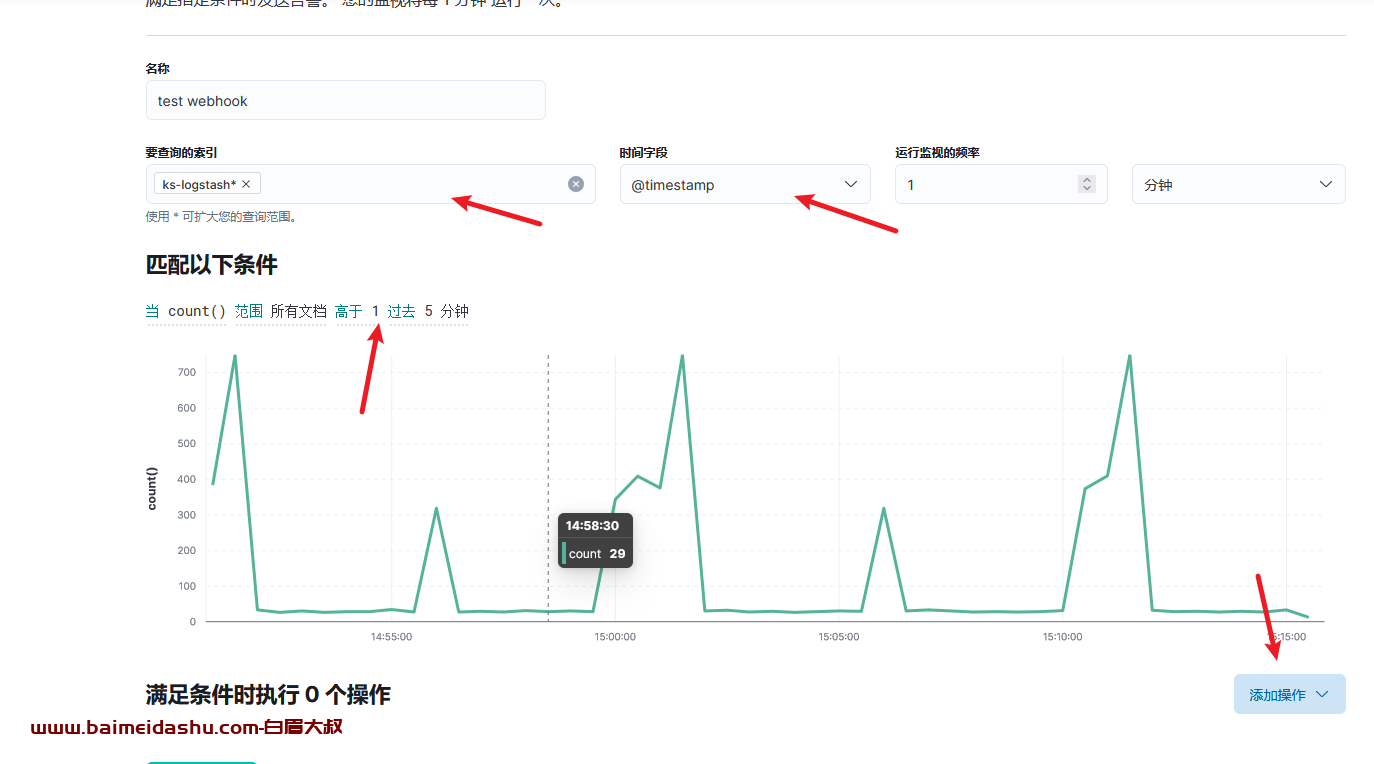
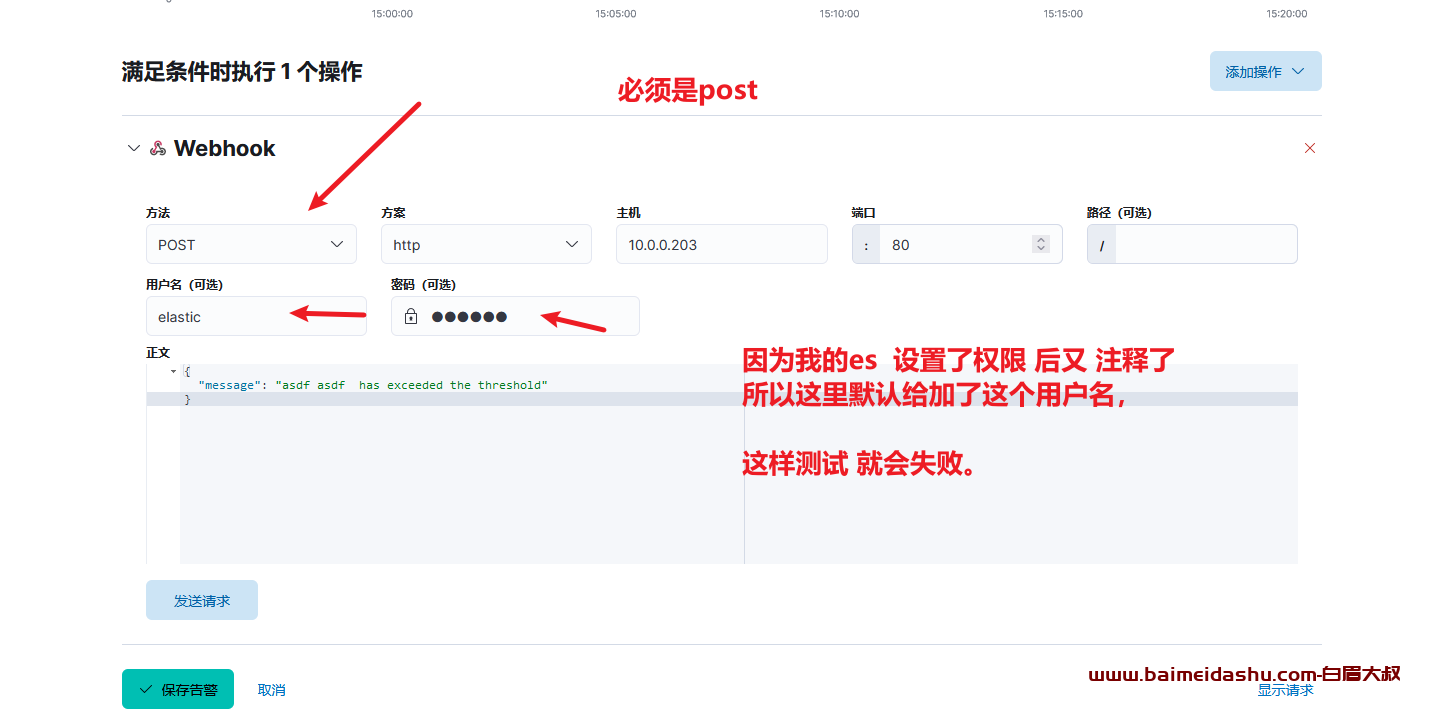
配置我们nginx 的地址:
这里一定是POST 方法, 否则 发送失败
怎么检测是否发送成功呢?
用高级模式:
直接 谁知 报警为:
"actions": {
    "webhook_1": {
      "webhook": {
        "scheme": "http",
        "host": "10.0.0.203",
        "port": 80,
        "method": "post",
        "params": {},
        "headers": {},
        "body": """{"msgtype": "text","text": {"content": "我就是我, 是不一样的烟火"}, "errmsg": "aa"}"""
      }
    }
  },
粘贴过去,测试,就可以, 后期就是从这个基础上改了。

完整的模式;
trigger, input, condition, actions
改一下索引,和 关键词就可以,
{
  "trigger": {
    "schedule": {
      "interval": "1m"
    }
  },
  "input": {
    "search": {
      "request": {
        "search_type": "query_then_fetch",
        "indices": [
          "ks-logstash*"
        ],
        "rest_total_hits_as_int": true,
        "body": {
          "query": {
            "bool": {
              "must": [
                {
                  "match": {
                    "message": "*INFO*"
                  }
                }
              ],
              "filter": [
                {
                  "range": {
                    "@timestamp": {
                      "from": "{{ctx.trigger.scheduled_time}}||-15m",
                      "to": "{{ctx.trigger.triggered_time}}"
                    }
                  }
                }
              ]
            }
          }
        }
      }
    }
  },
  "condition": {
    "compare": {
      "ctx.payload.hits.total": {
        "gte": 0
      }
    }
  },
  "actions": {
    "webhook_1": {
      "webhook": {
        "scheme": "http",
        "host": "10.0.0.203",
        "port": 80,
        "method": "post",
        "params": {},
        "headers": {},
        "body": """{"msgtype": "text","text": {"content": "eroro大于 1 "}, "errmsg": "aa"}"""
      }
    }
  }
}
单击 Send request 可以进行测试,然后单击 Create alert 即可。
Create advanced watch 通过 API 设置 Watcher 各参数,API 详情请参见 PUT Watch。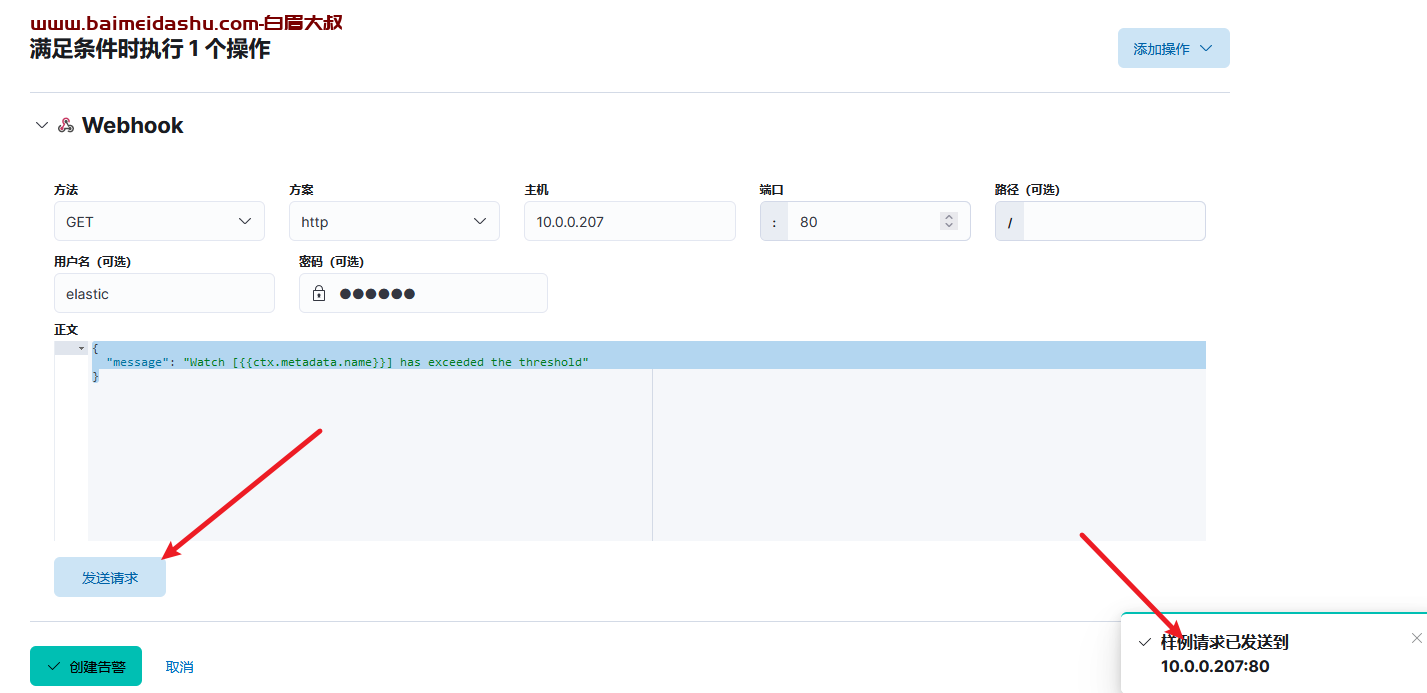
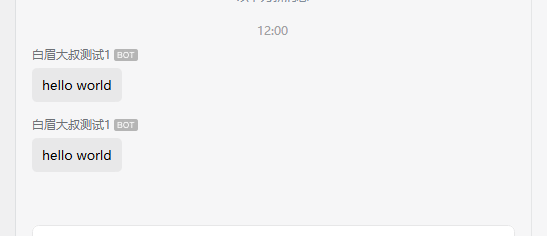
6. 以上步骤配置完成后,即可在自己创建的企业微信群中接收到机器人发来的告警信息。
欢迎来撩 : 汇总all